Create React App
Coming back, now lets create a basic react app as a front-end to our DB and to consume our Graph APIs and experiment on this todos table.
Do
yarn create-react-app todos-example-rocketgraph
cd todos-example-rocketgraph
yarn install
yarn start
to spin up a basic react application
Next, install the dependencies we need to connect to our backends:
yarn add react-router-dom react-router
yarn add @apollo/client @rocketgraphql/react-apollo @rocketgraphql/rocketgraph-js-sdk graphql
Next, add the following code to your index.js:
// src/index.js
import React from "react";
import ReactDOM from "react-dom";
import { Login } from "./components/login";
import { Signup } from "./components/signup";
import { BrowserRouter as Router, Switch, Route } from "react-router-dom";
import App from "./App";
import { RApolloProvider } from "@rocketgraphql/react-apollo";
import { auth } from "./utils/rockets";

ReactDOM.render(
  <React.StrictMode>
    <RApolloProvider auth={auth} gqlEndpoint="gqlEndpoint/v1/graphql">
      <Router>
          <Switch>
            <Route exact path="/login">
              <Login />
            </Route>
            <Route exact path="/signup">
              <Signup />
            </Route>
            <Route exact path="/">
              <App />
            </Route>
          </Switch>
      </Router>
    </RApolloProvider>
  </React.StrictMode>,
  document.getElementById("root")
);
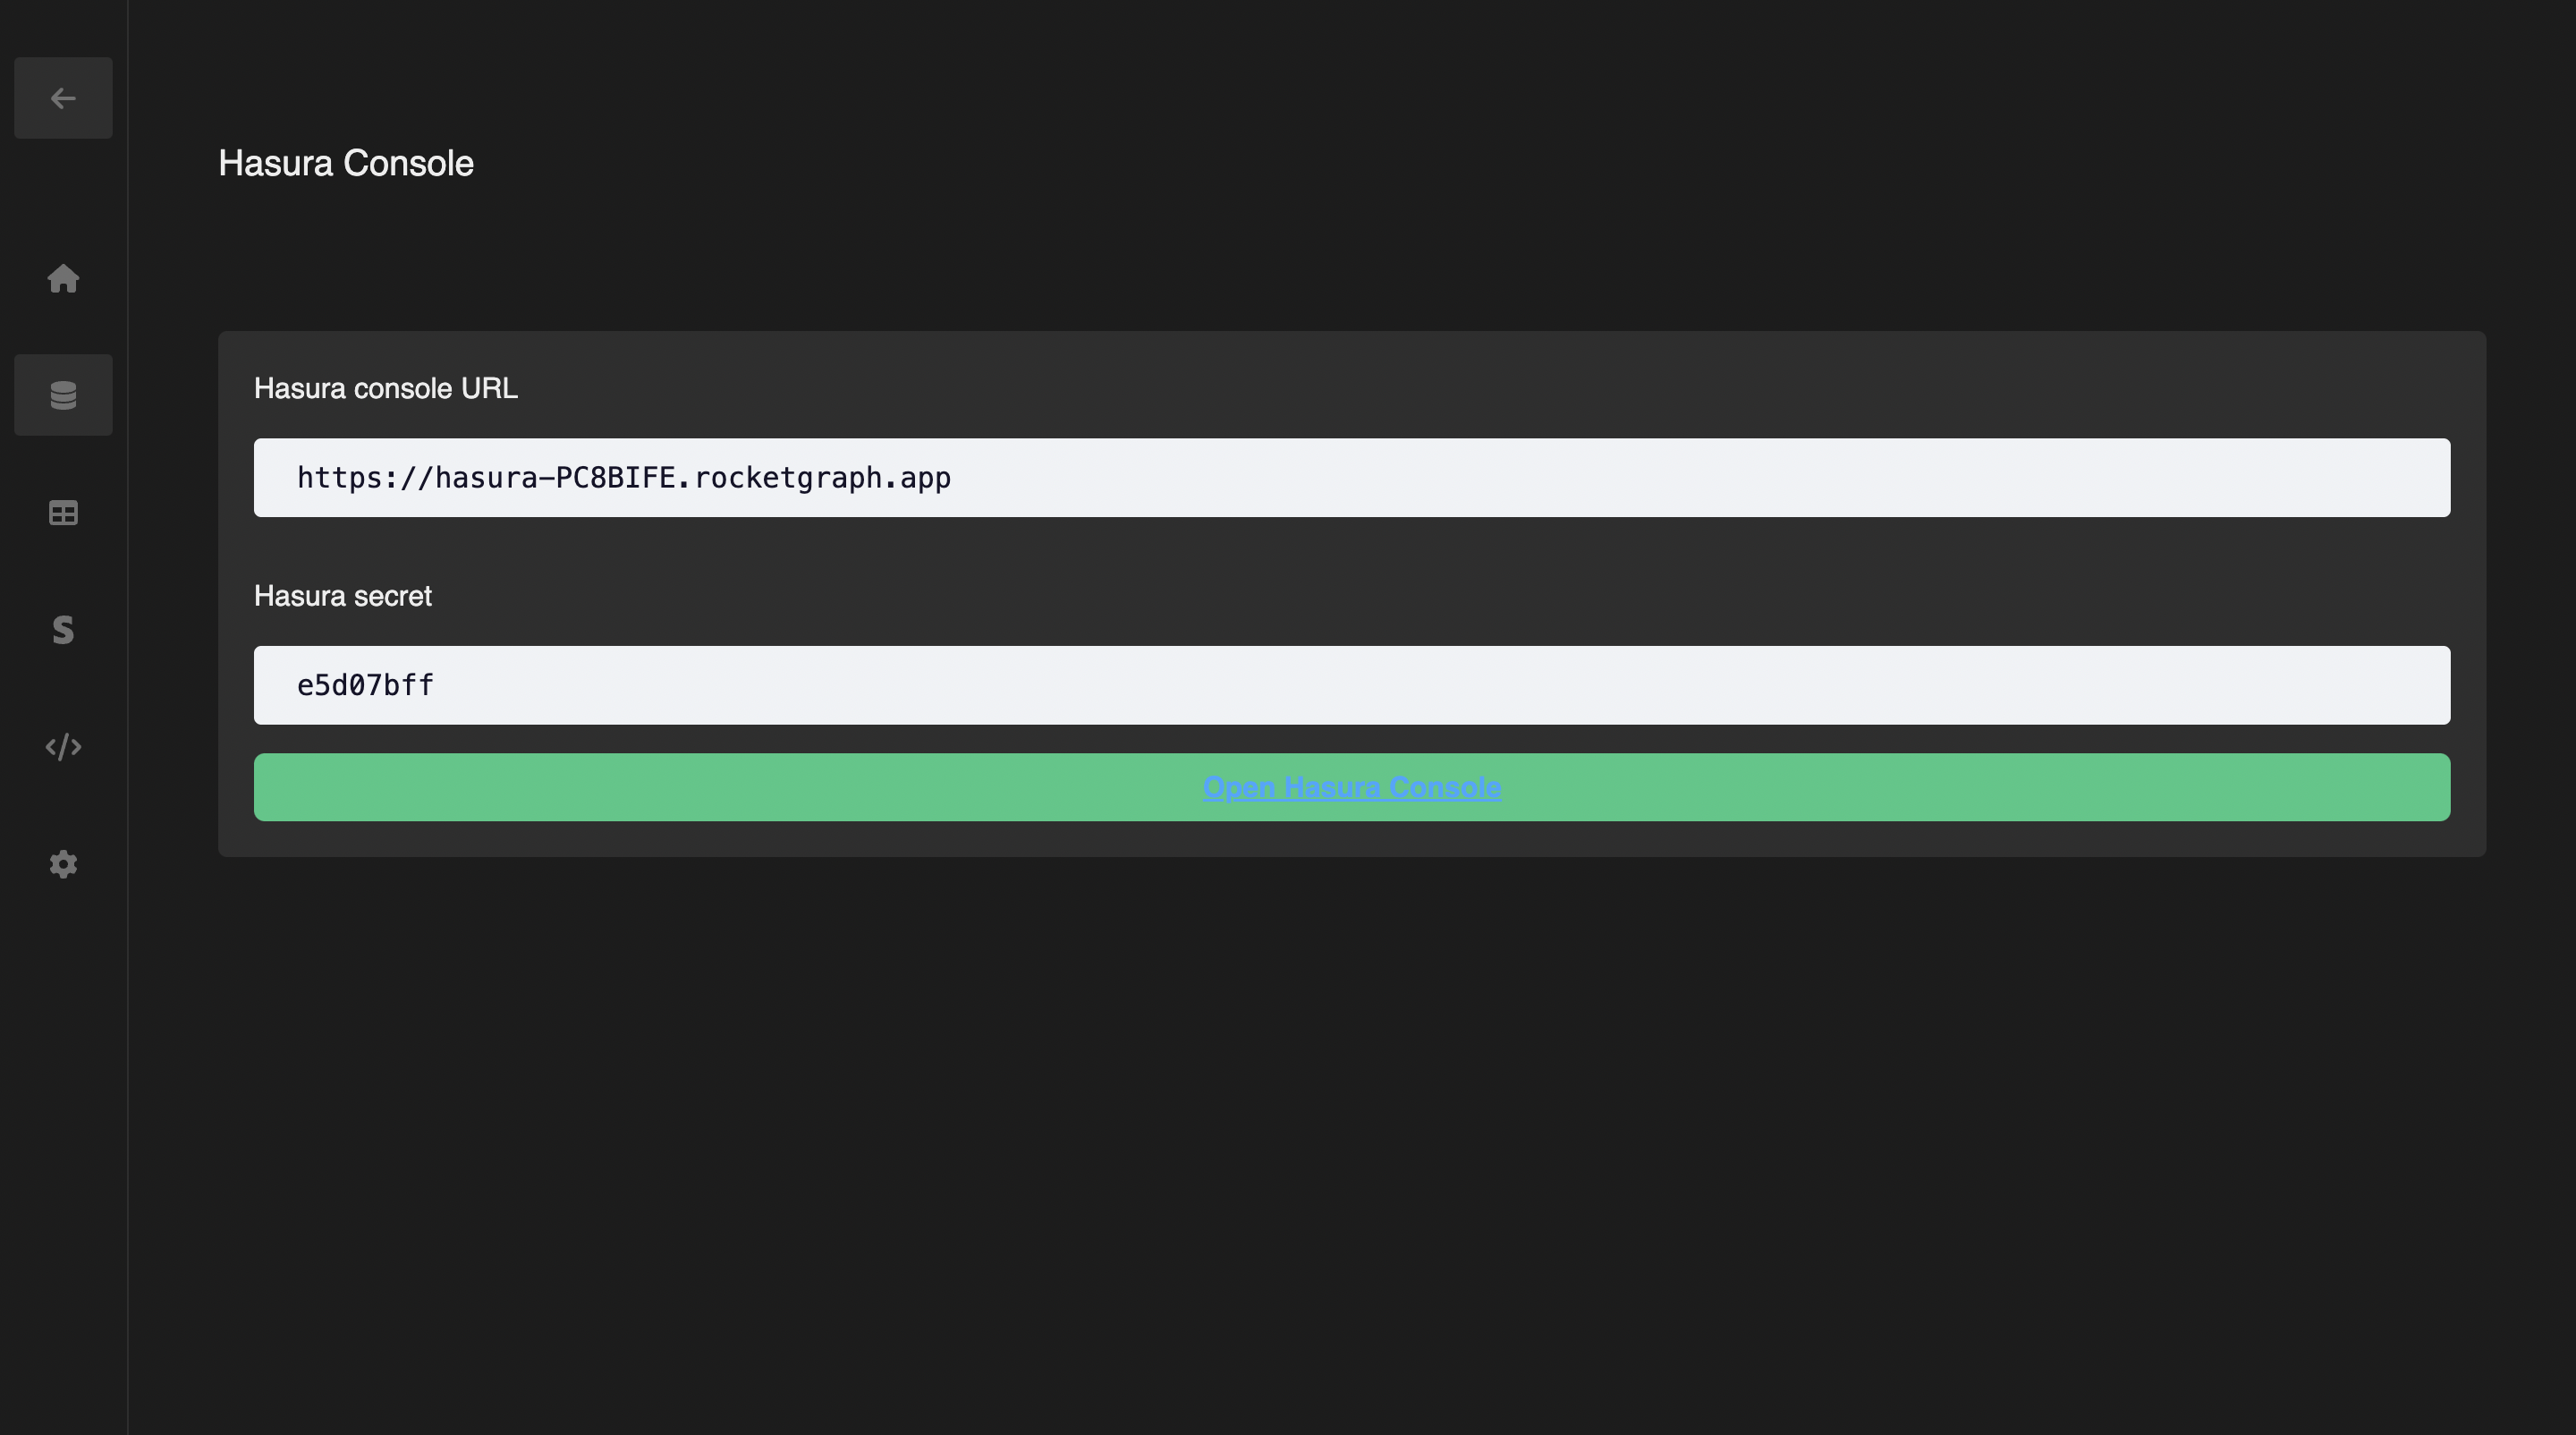
In the above code replace the gqlEndpoint with your Hasura URL in your project dashboard:

It should be of the following format:
https://hasura-XXXXXXX.rocketgraph.app
The graphQL endpoint will be
https://hasura-XXXXXXX.rocketgraph.app/v1/graphql
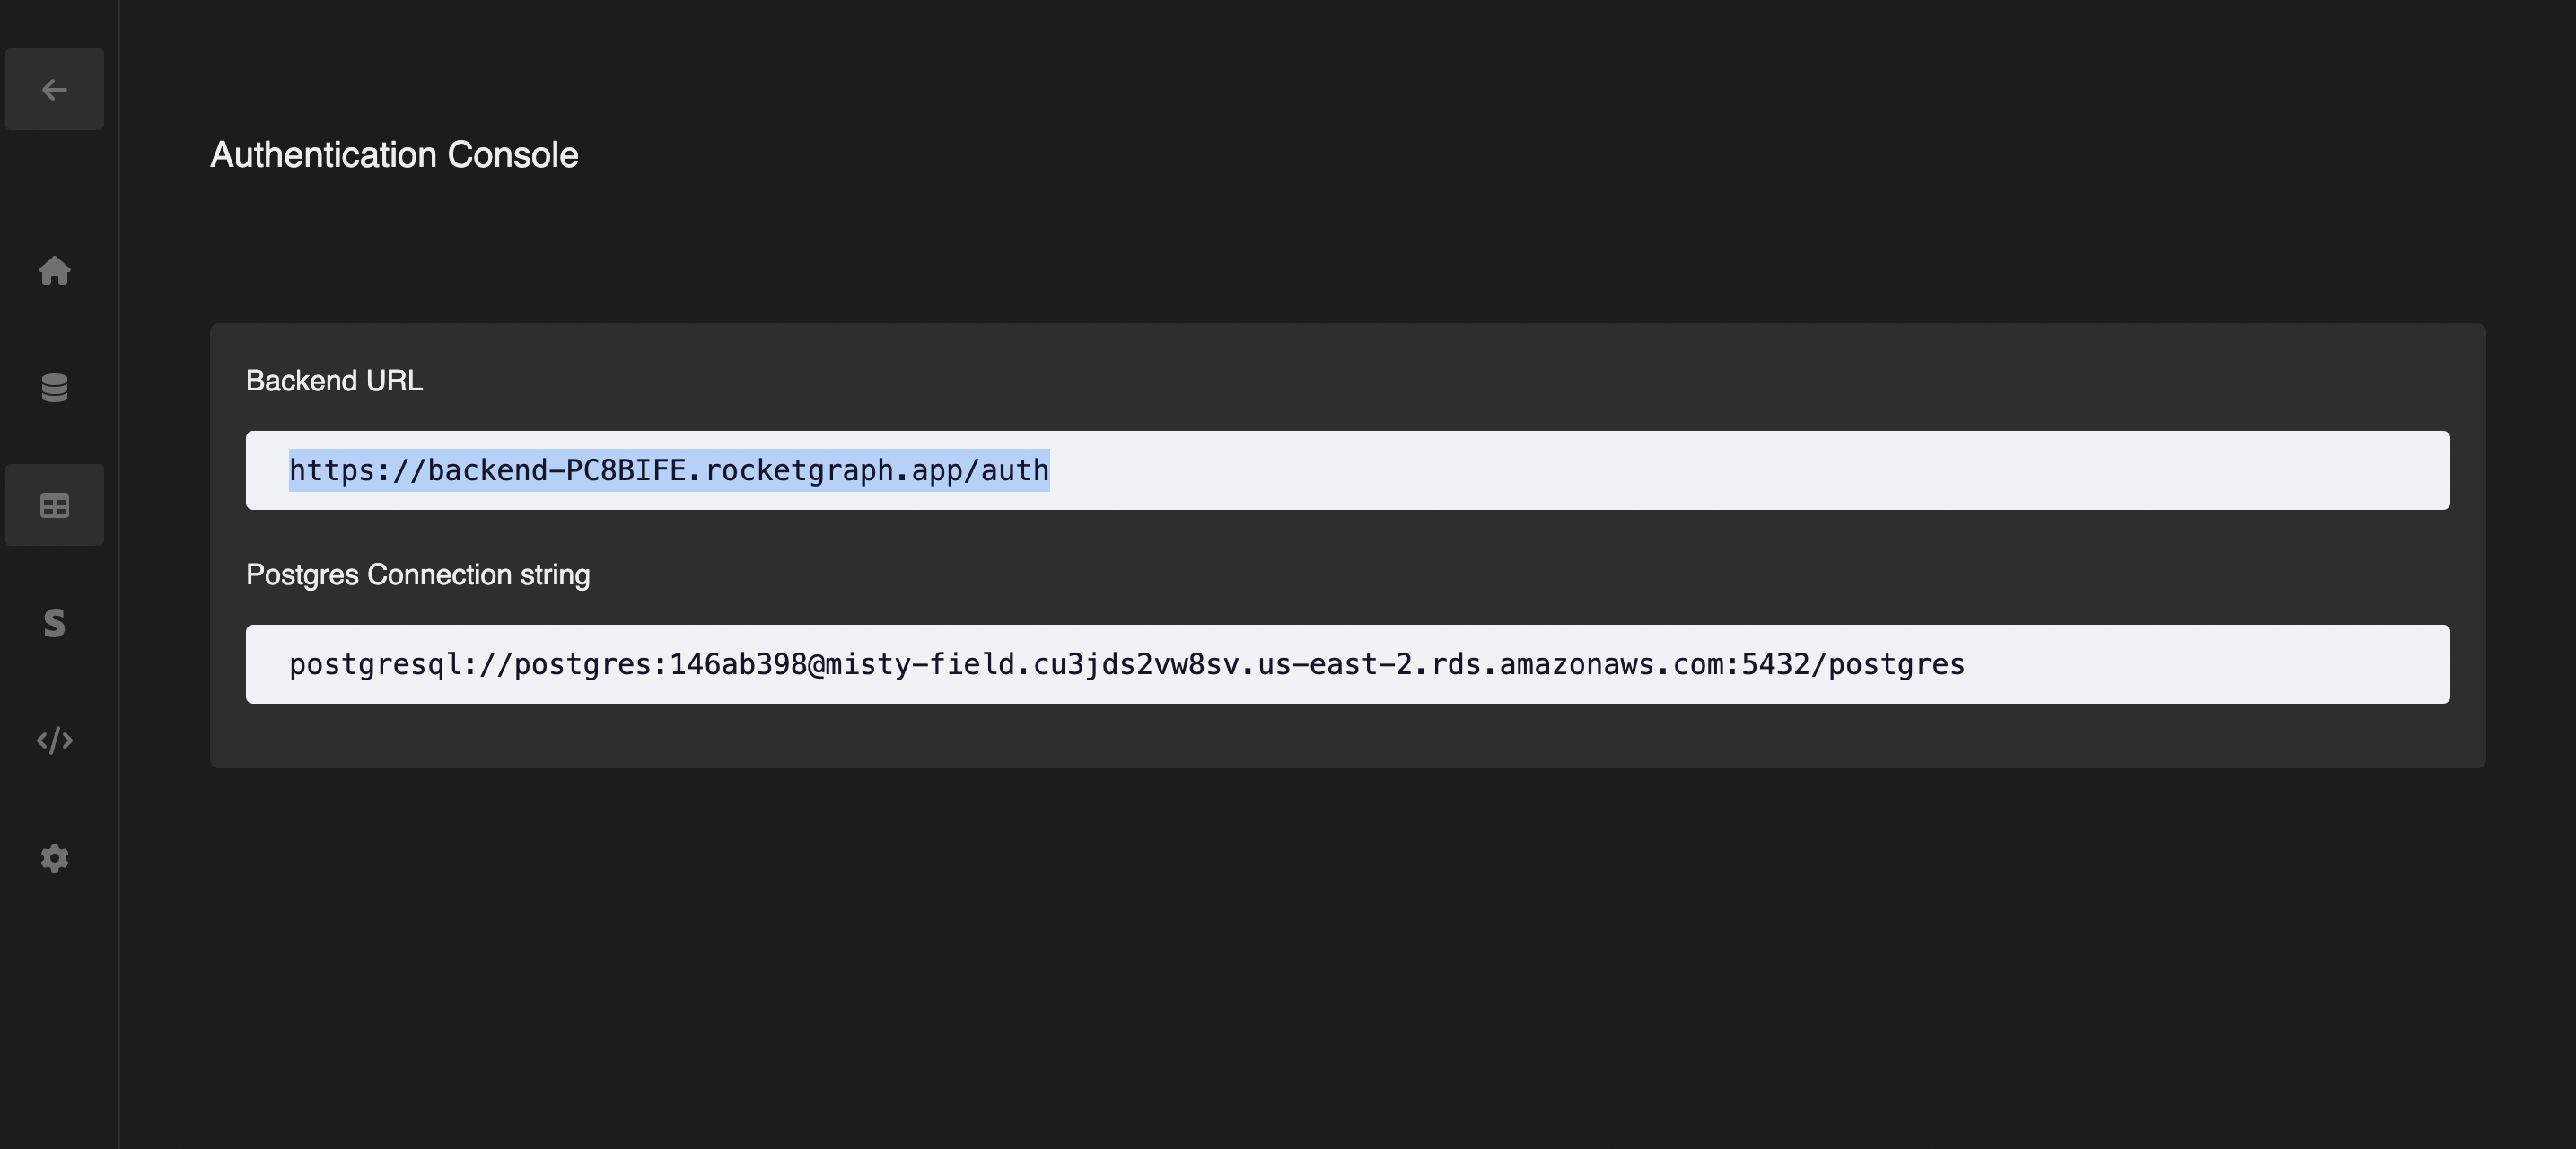
Now let's also create a client that talks to our backend and does authentication for us. Create a folder called utils and create a file named rockets.js.
Add this code to /utils/rockets.js
import { createClient } from "@rocketgraphql/rocketgraph-js-sdk";
import Cookies from 'js-cookie';

const config = {
  baseURL: "https://backend-XXXXXXX.rocketgraph.app/auth",
};

const { auth } = createClient(config);

export { auth };
You will find your backend URL in the below tab:
