Create a basic Todos table
We're gonna need to create a todos table for our todos application.
Create table using Hasura console
Here is how you navigate to your Hasura console.
Click on the project you would like to work on below.
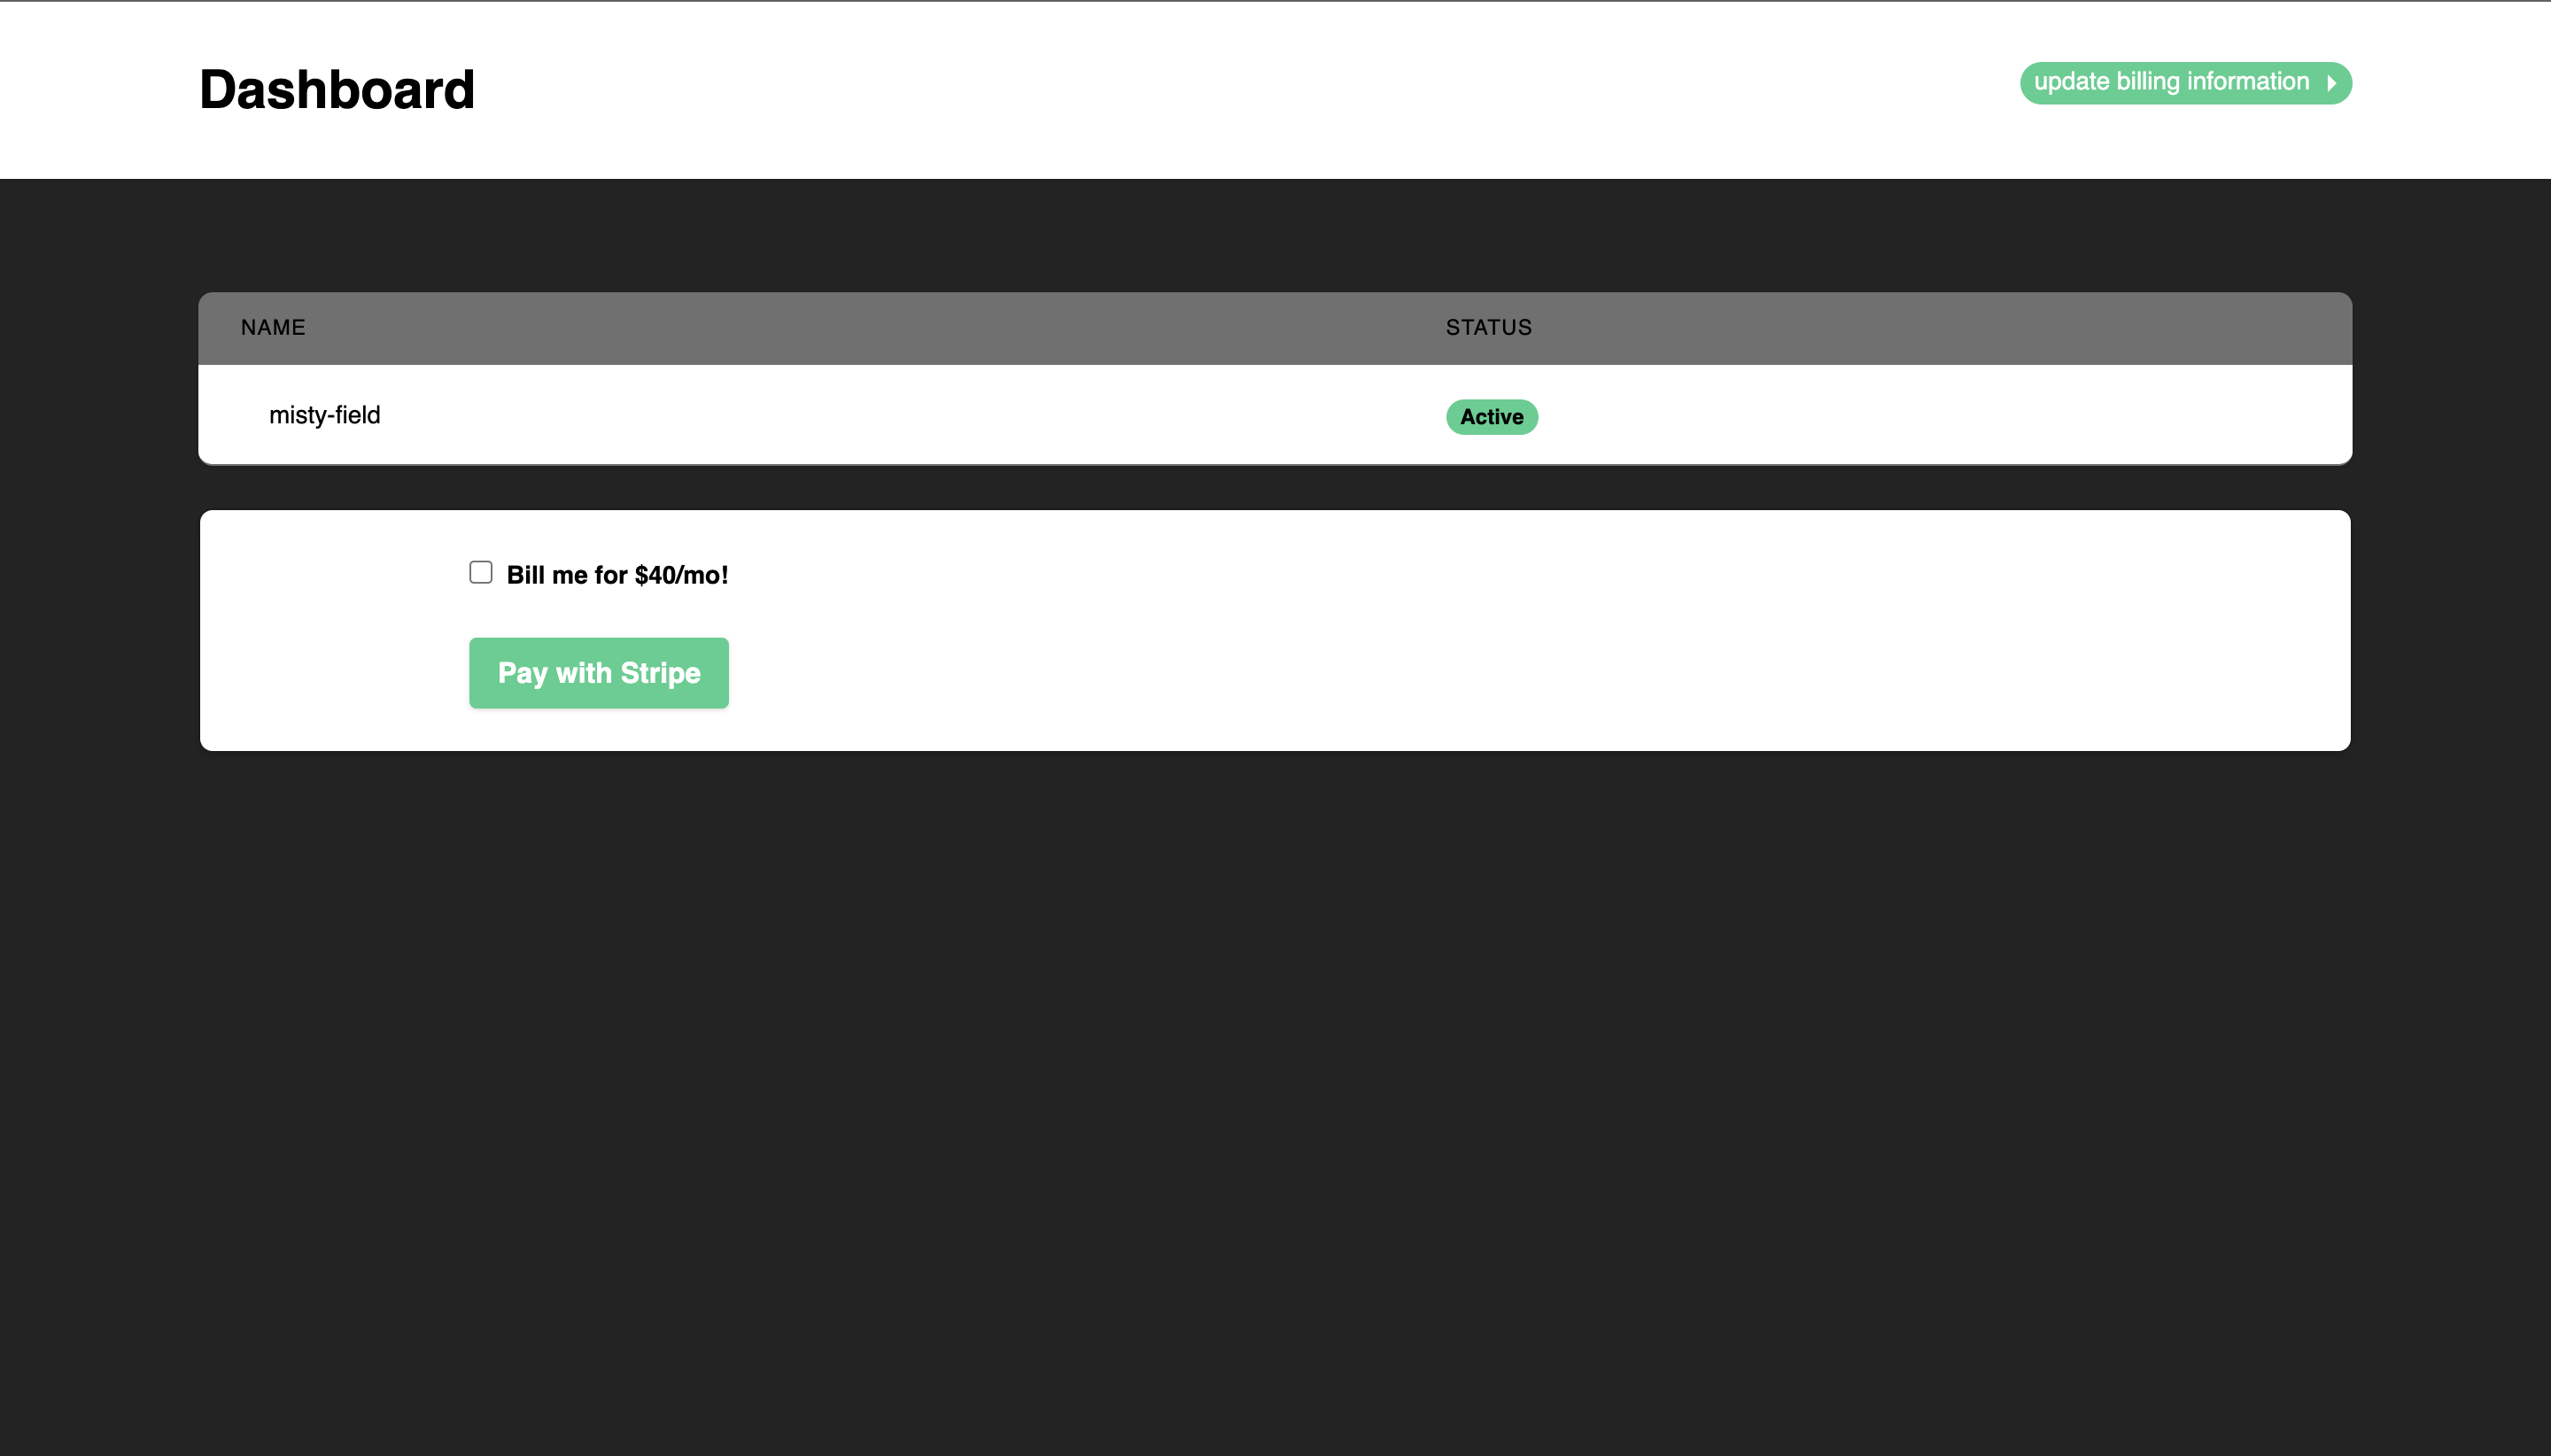
This will take you to the project dashboard that looks like this
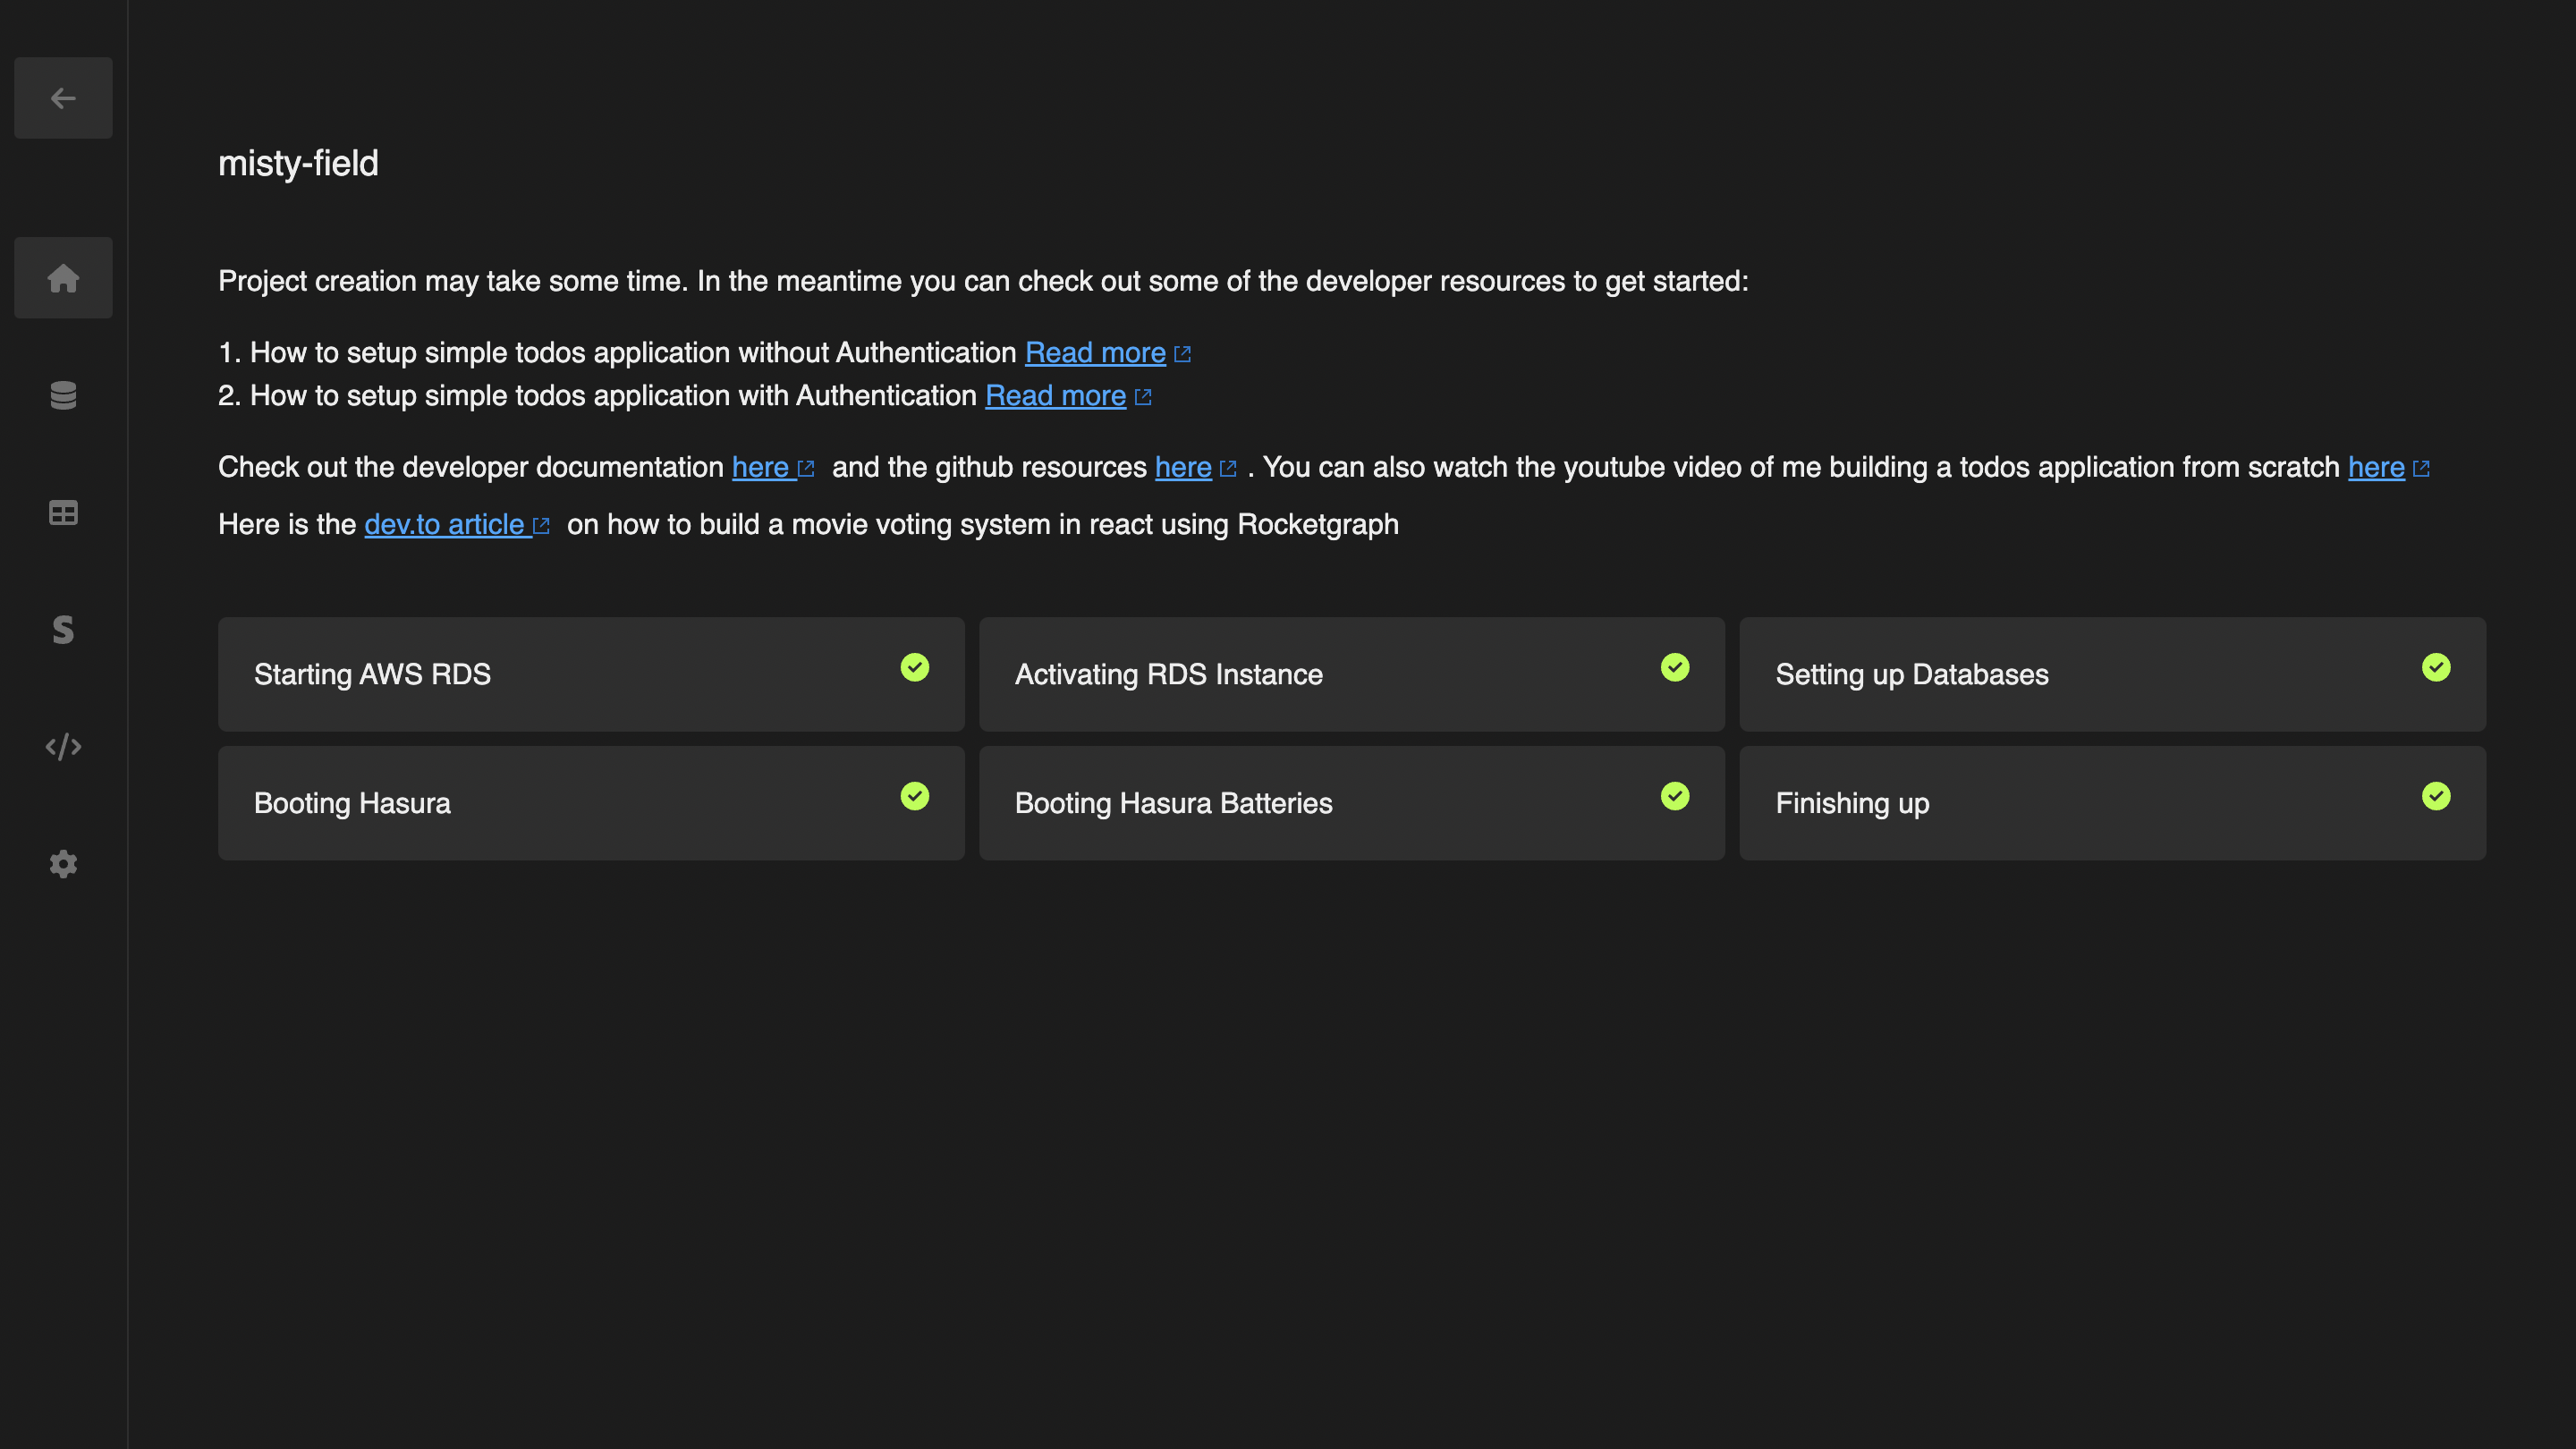
Go to the Hasura tab and click on "Open Hasura Console"
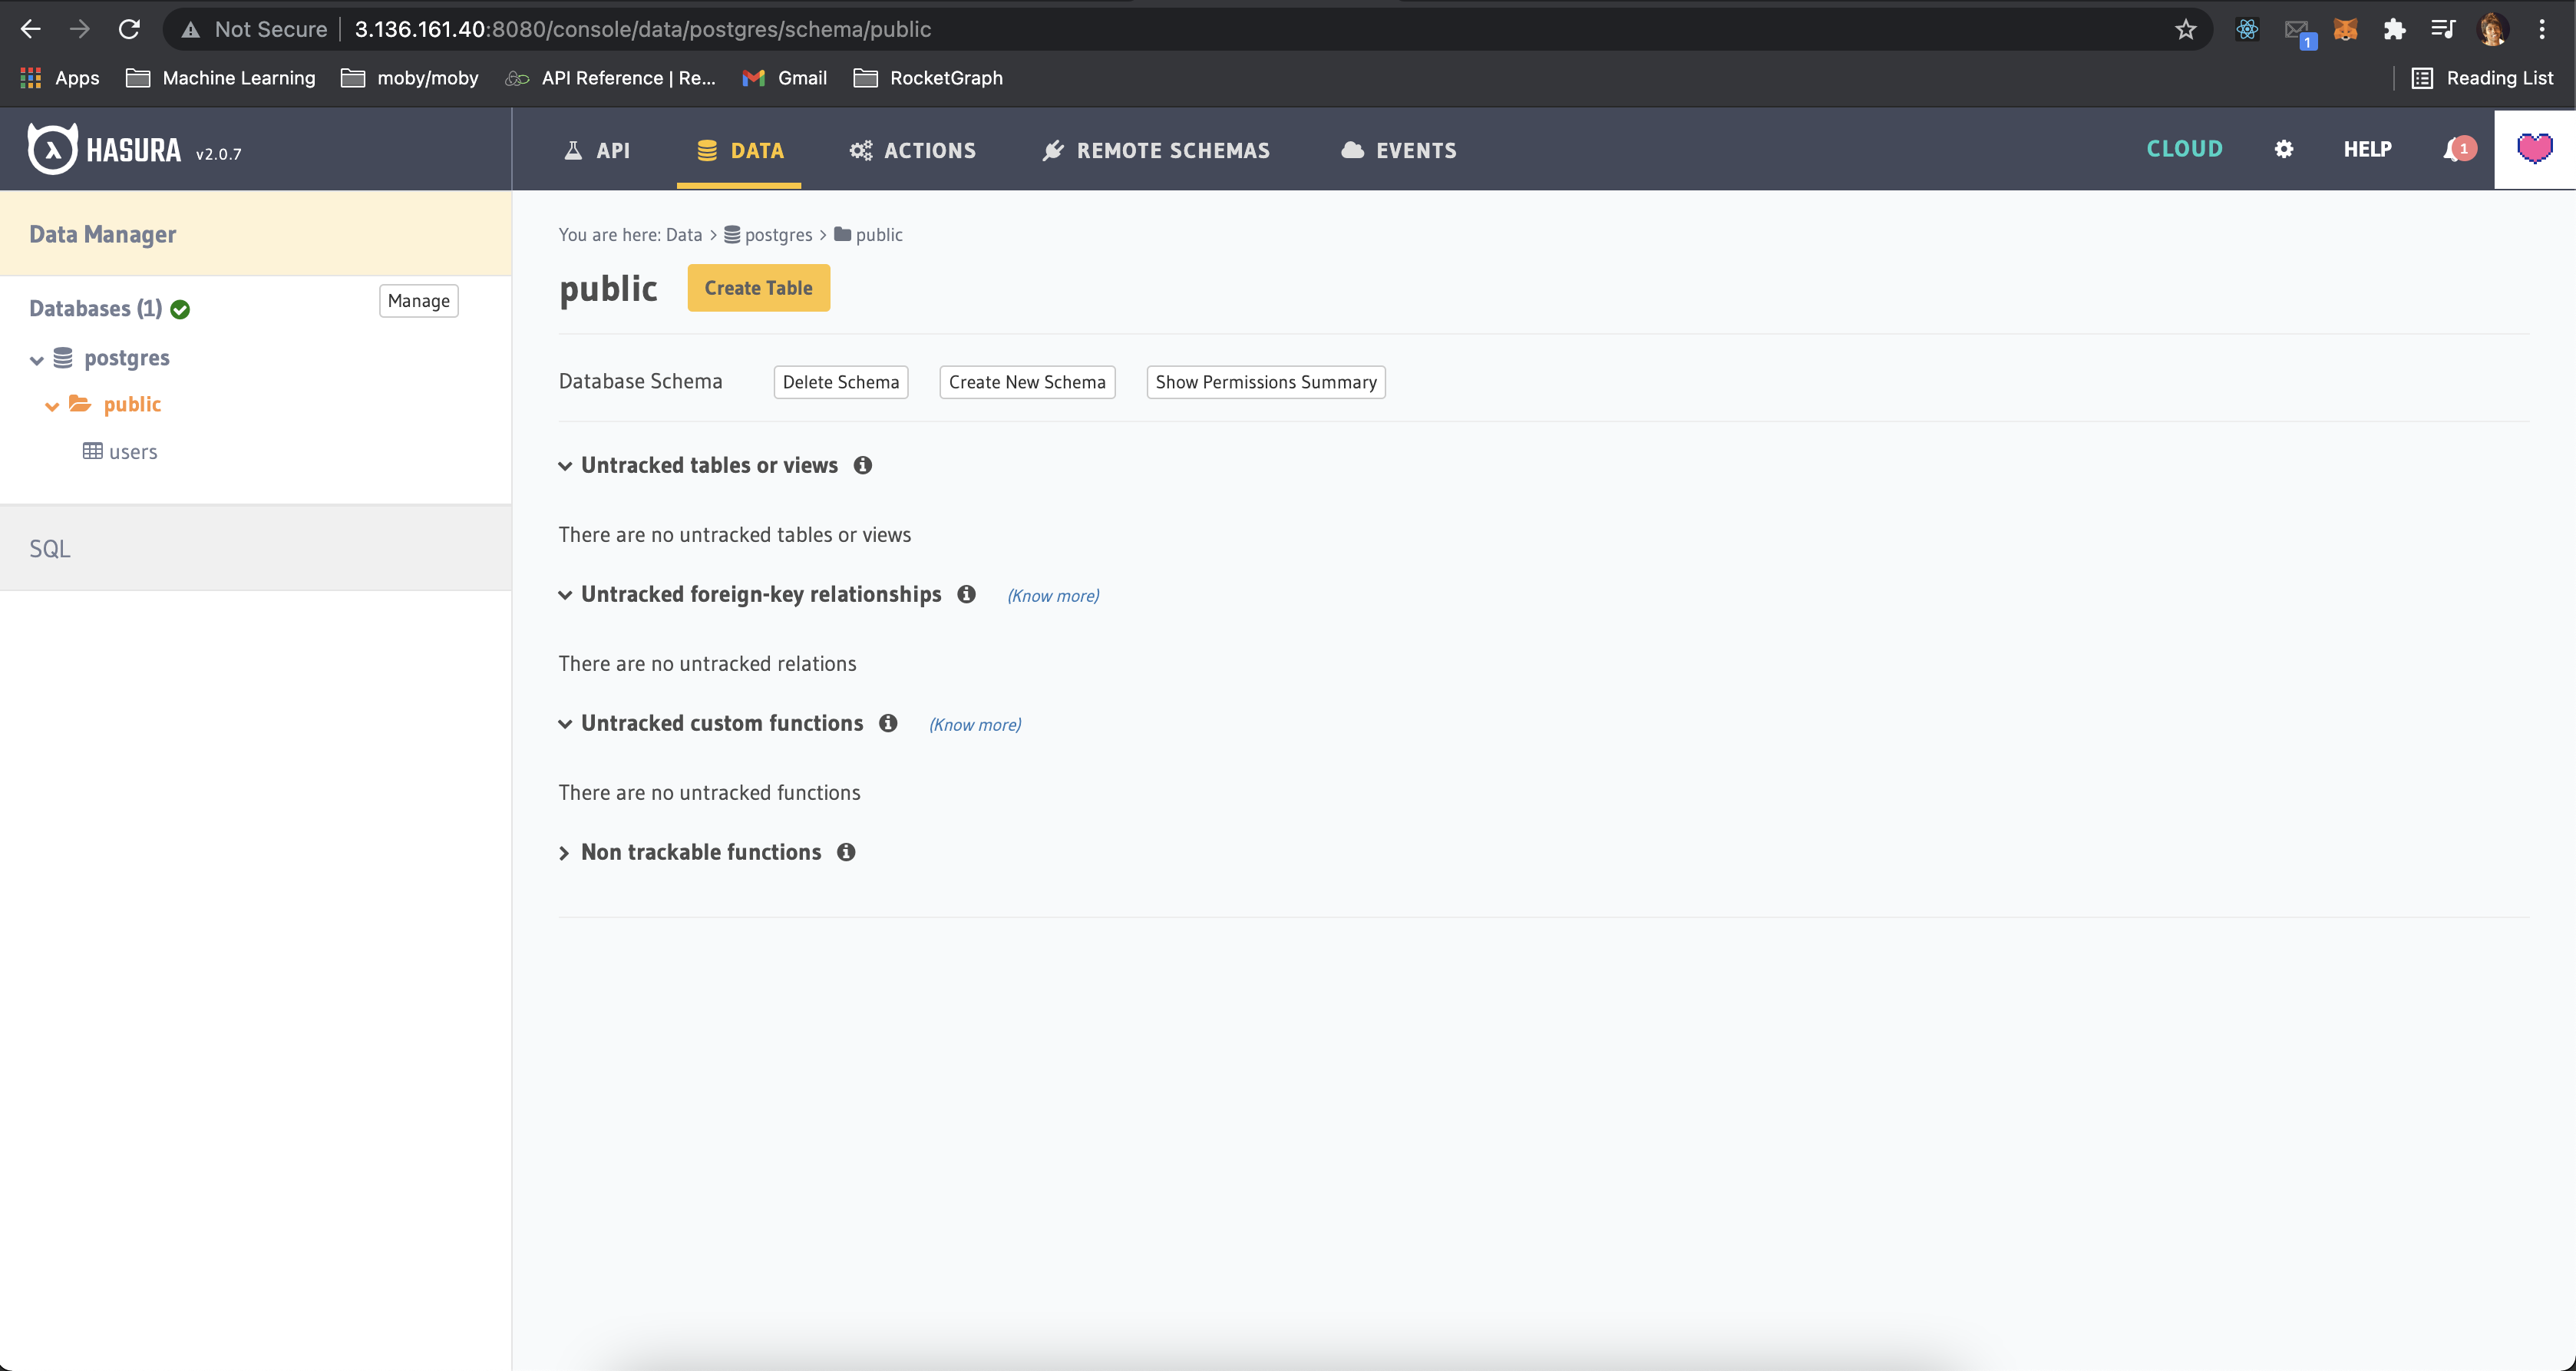
That will take you to your Hasura console that looks like the following.
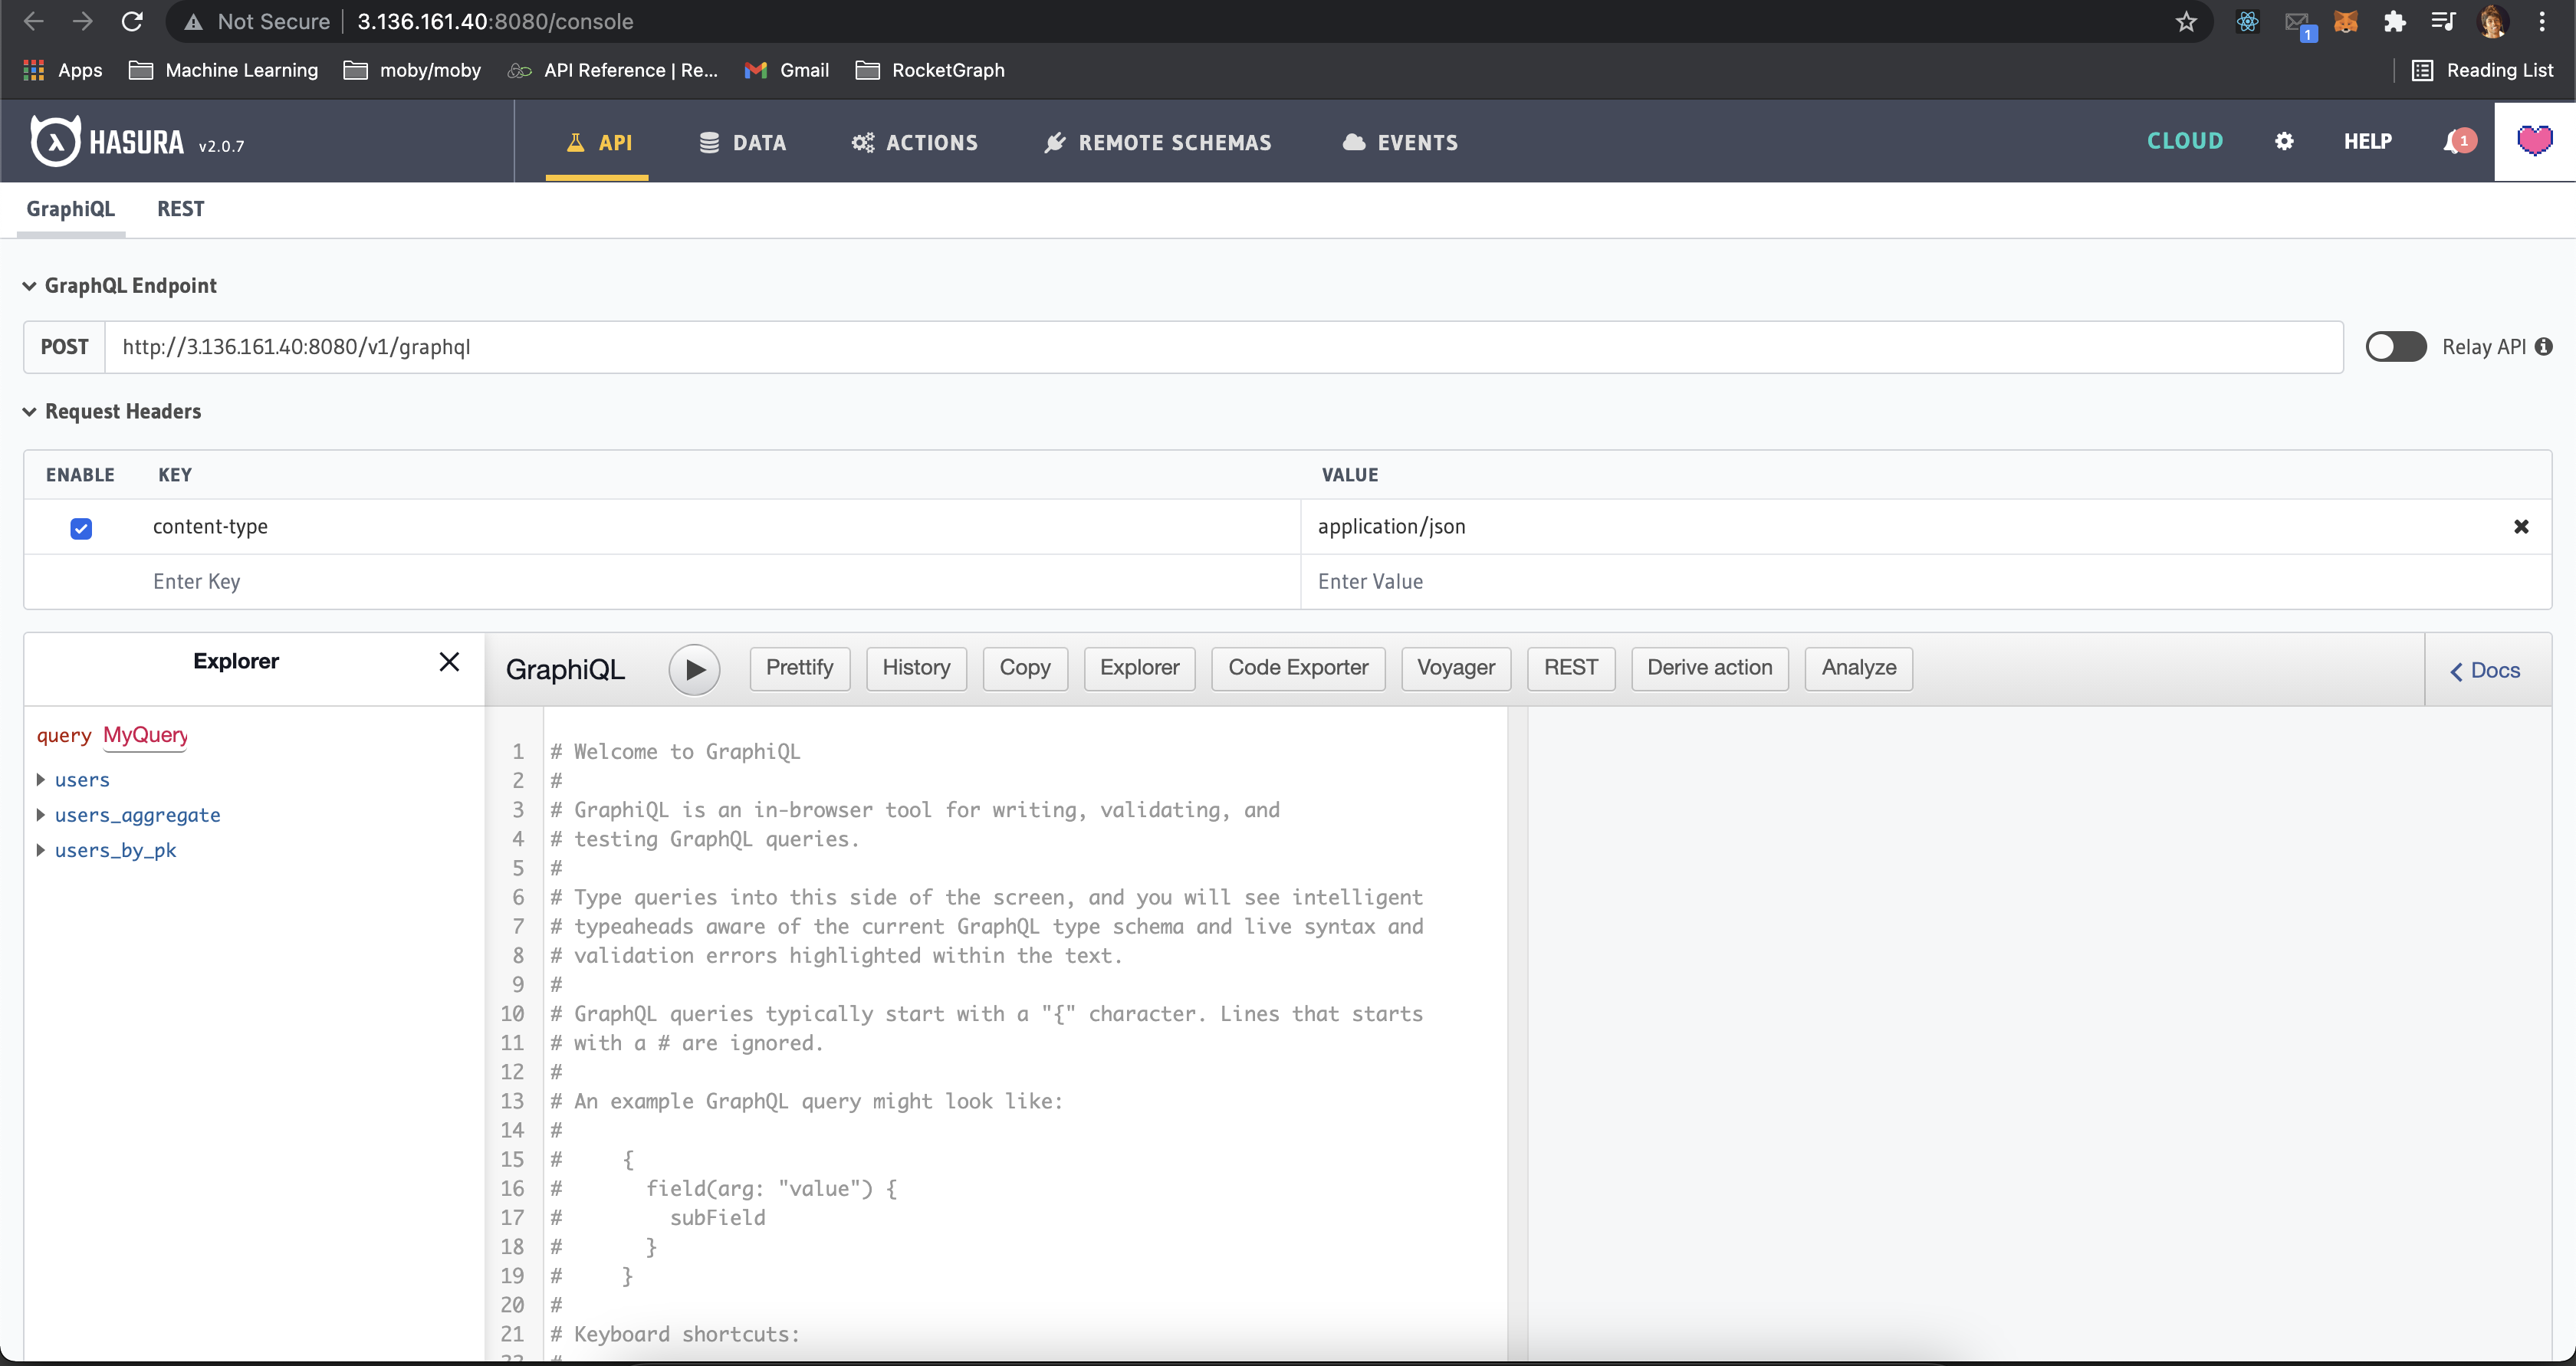 Click on DATA page at the top(right next to API tab). Then click on "public" schema. You are here.
 Now click on create table and add the following column properties:
| Column Name | Column type | Default value |
|---|---|---|
| id | UUID | gen_random_uuid() |
| created_at | timestamp | now() |
| name | Text |
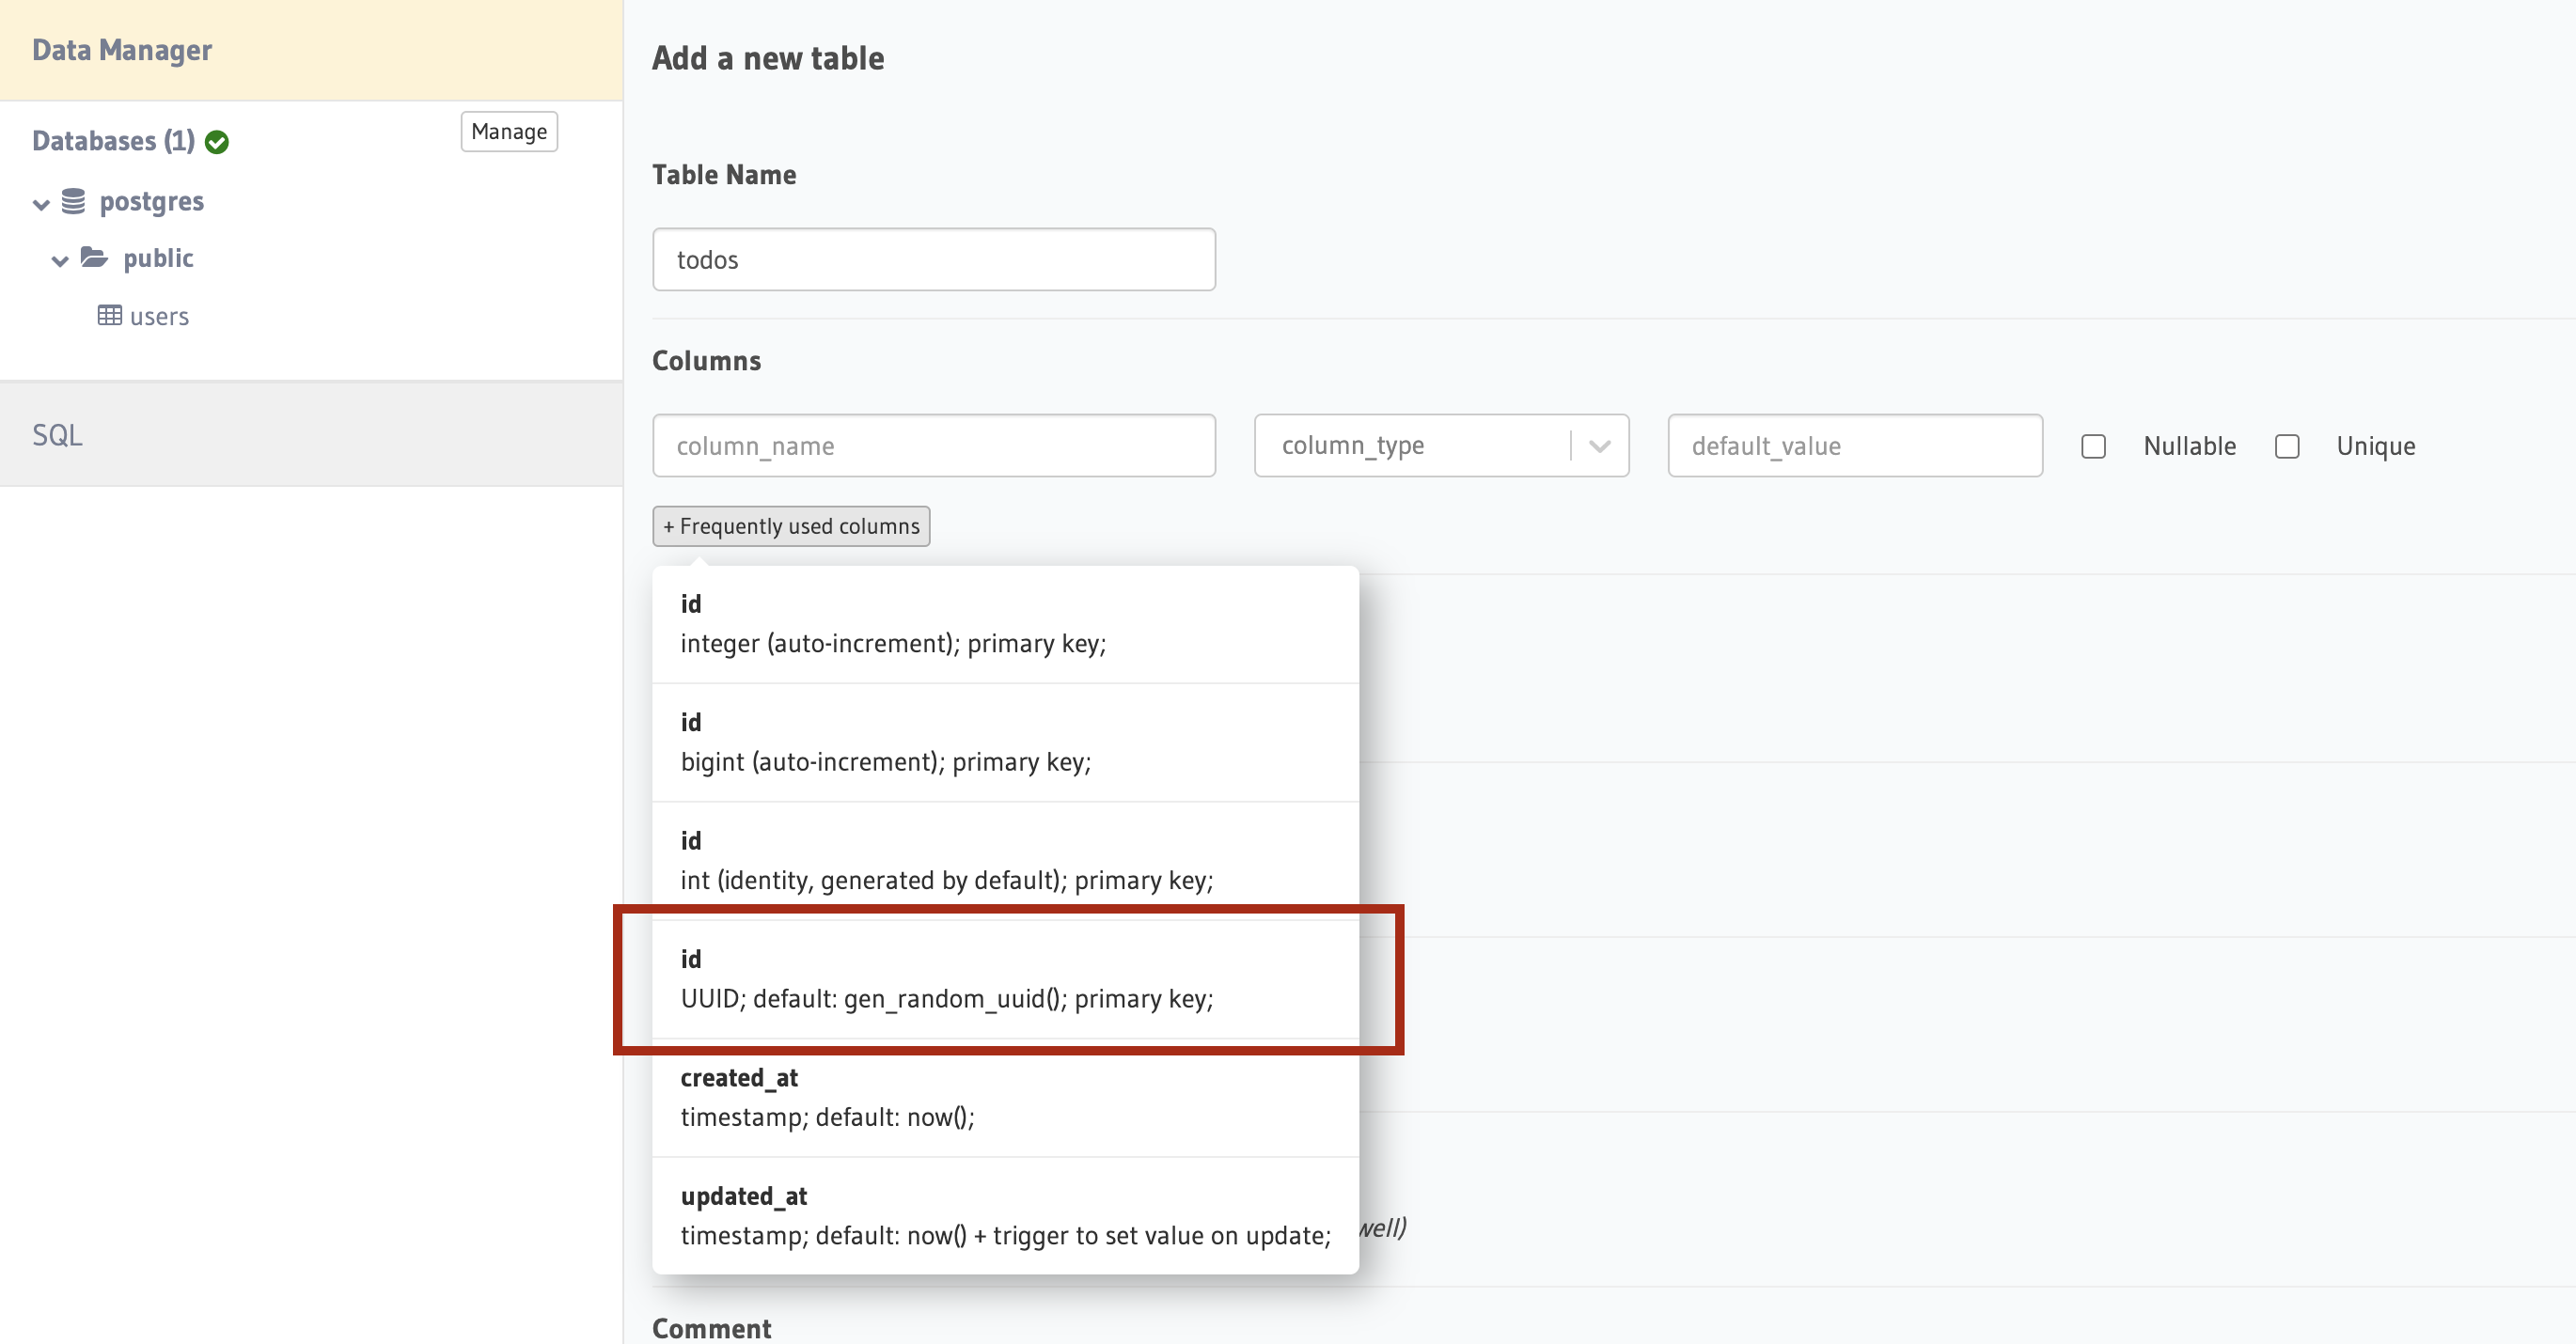 Use this preconfigured id property and then add another column called "name" with type "text"
Finally your table should look like this:

Go ahead and click on "add table"
To test this out, create a few todos by clicking on "Insert row"
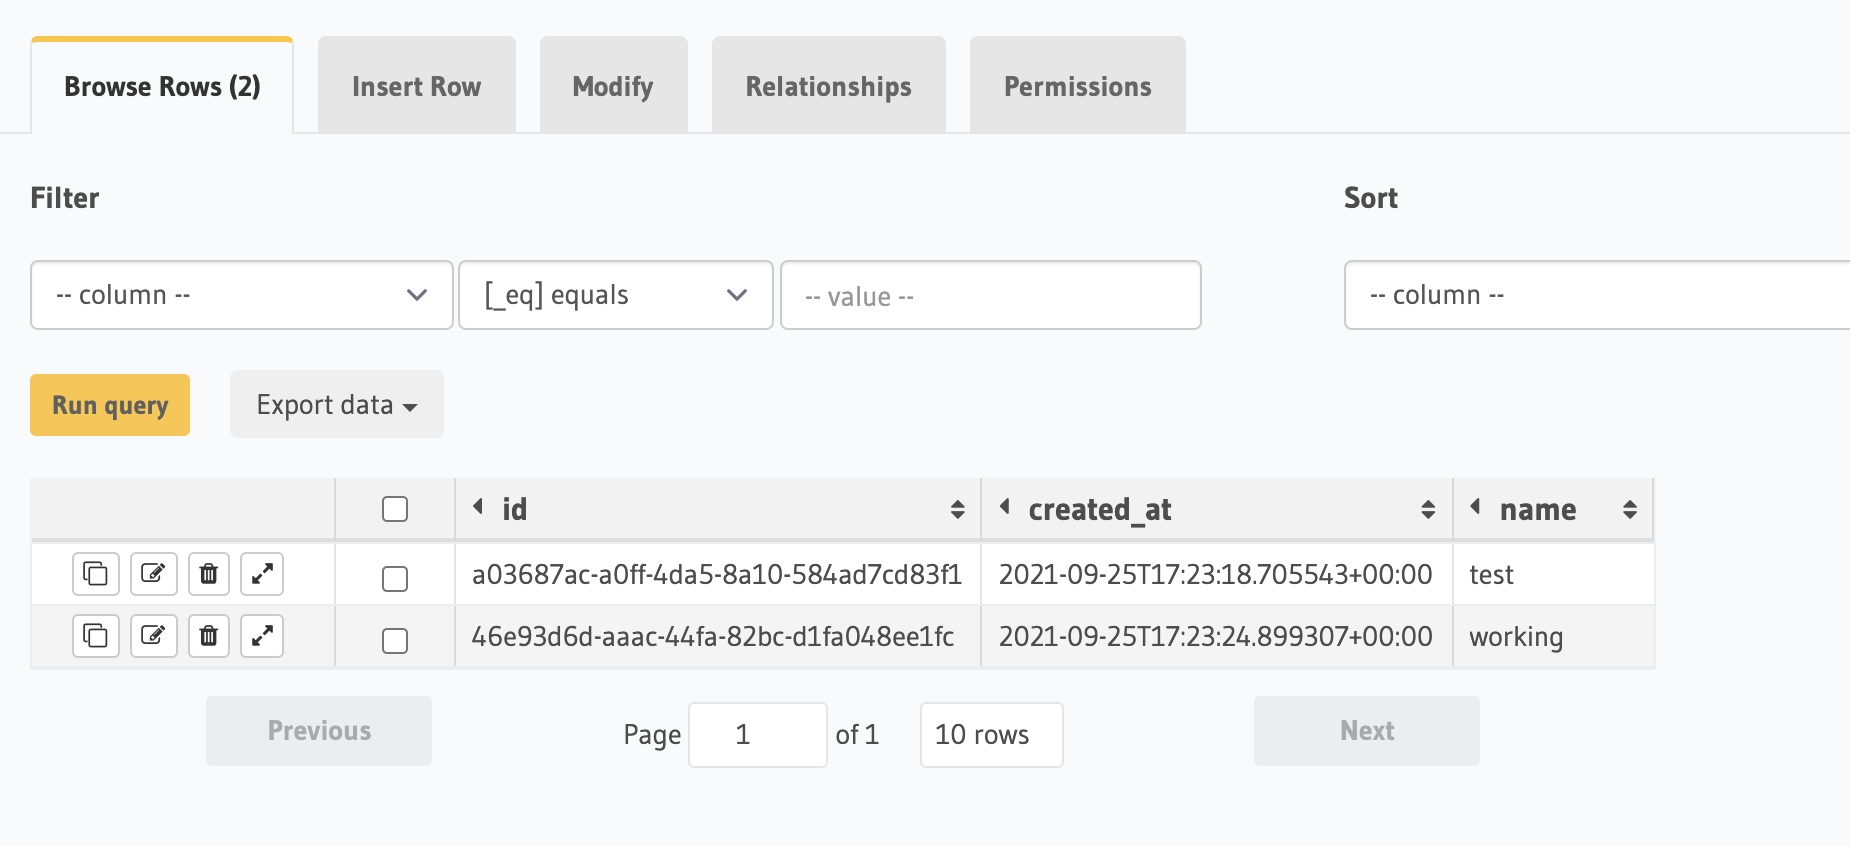
To test queries, go to the graphql API pane and paste the following query into the GraphiQL query editor
query {
  todos {
    id
    created_at
    name
  }
}
You should see your todos on the right side
Permissions
For now the only way to access todos is as an admin(Which means that you need to send in the x-hasura-admin-secret). Let's change that to public so anyone can insert and select todos.
The
publicrole is used by users that are not logged in.
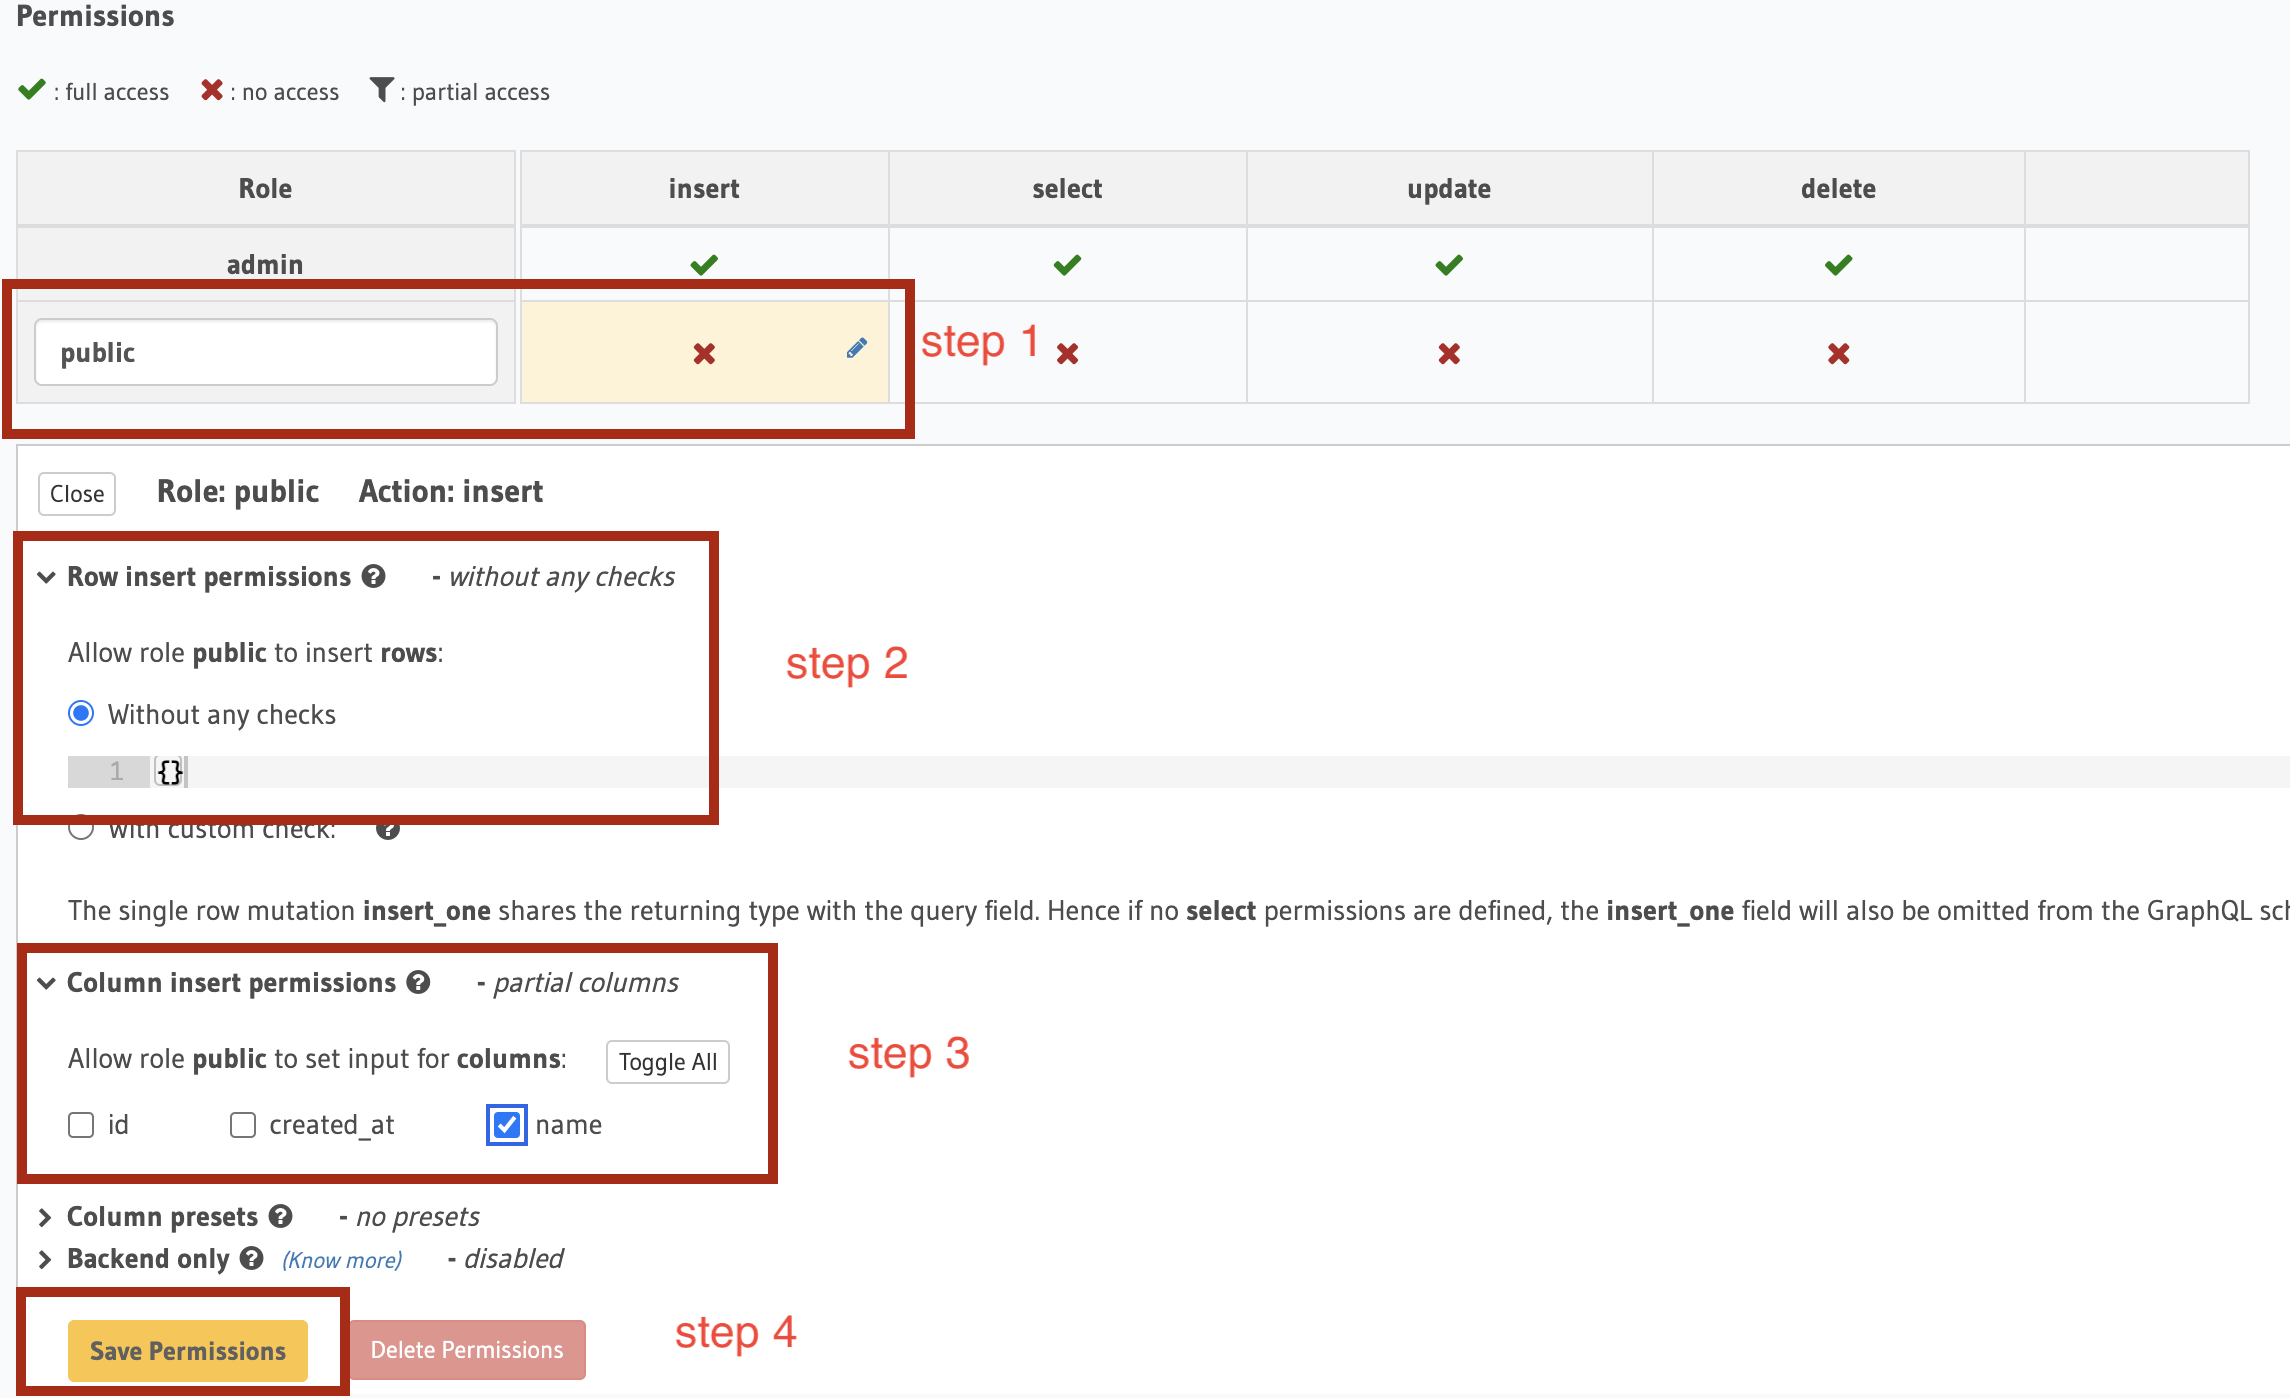
Insert
Row insert permissions should be set to Without any checks and Column insert permissions should only have name checked.
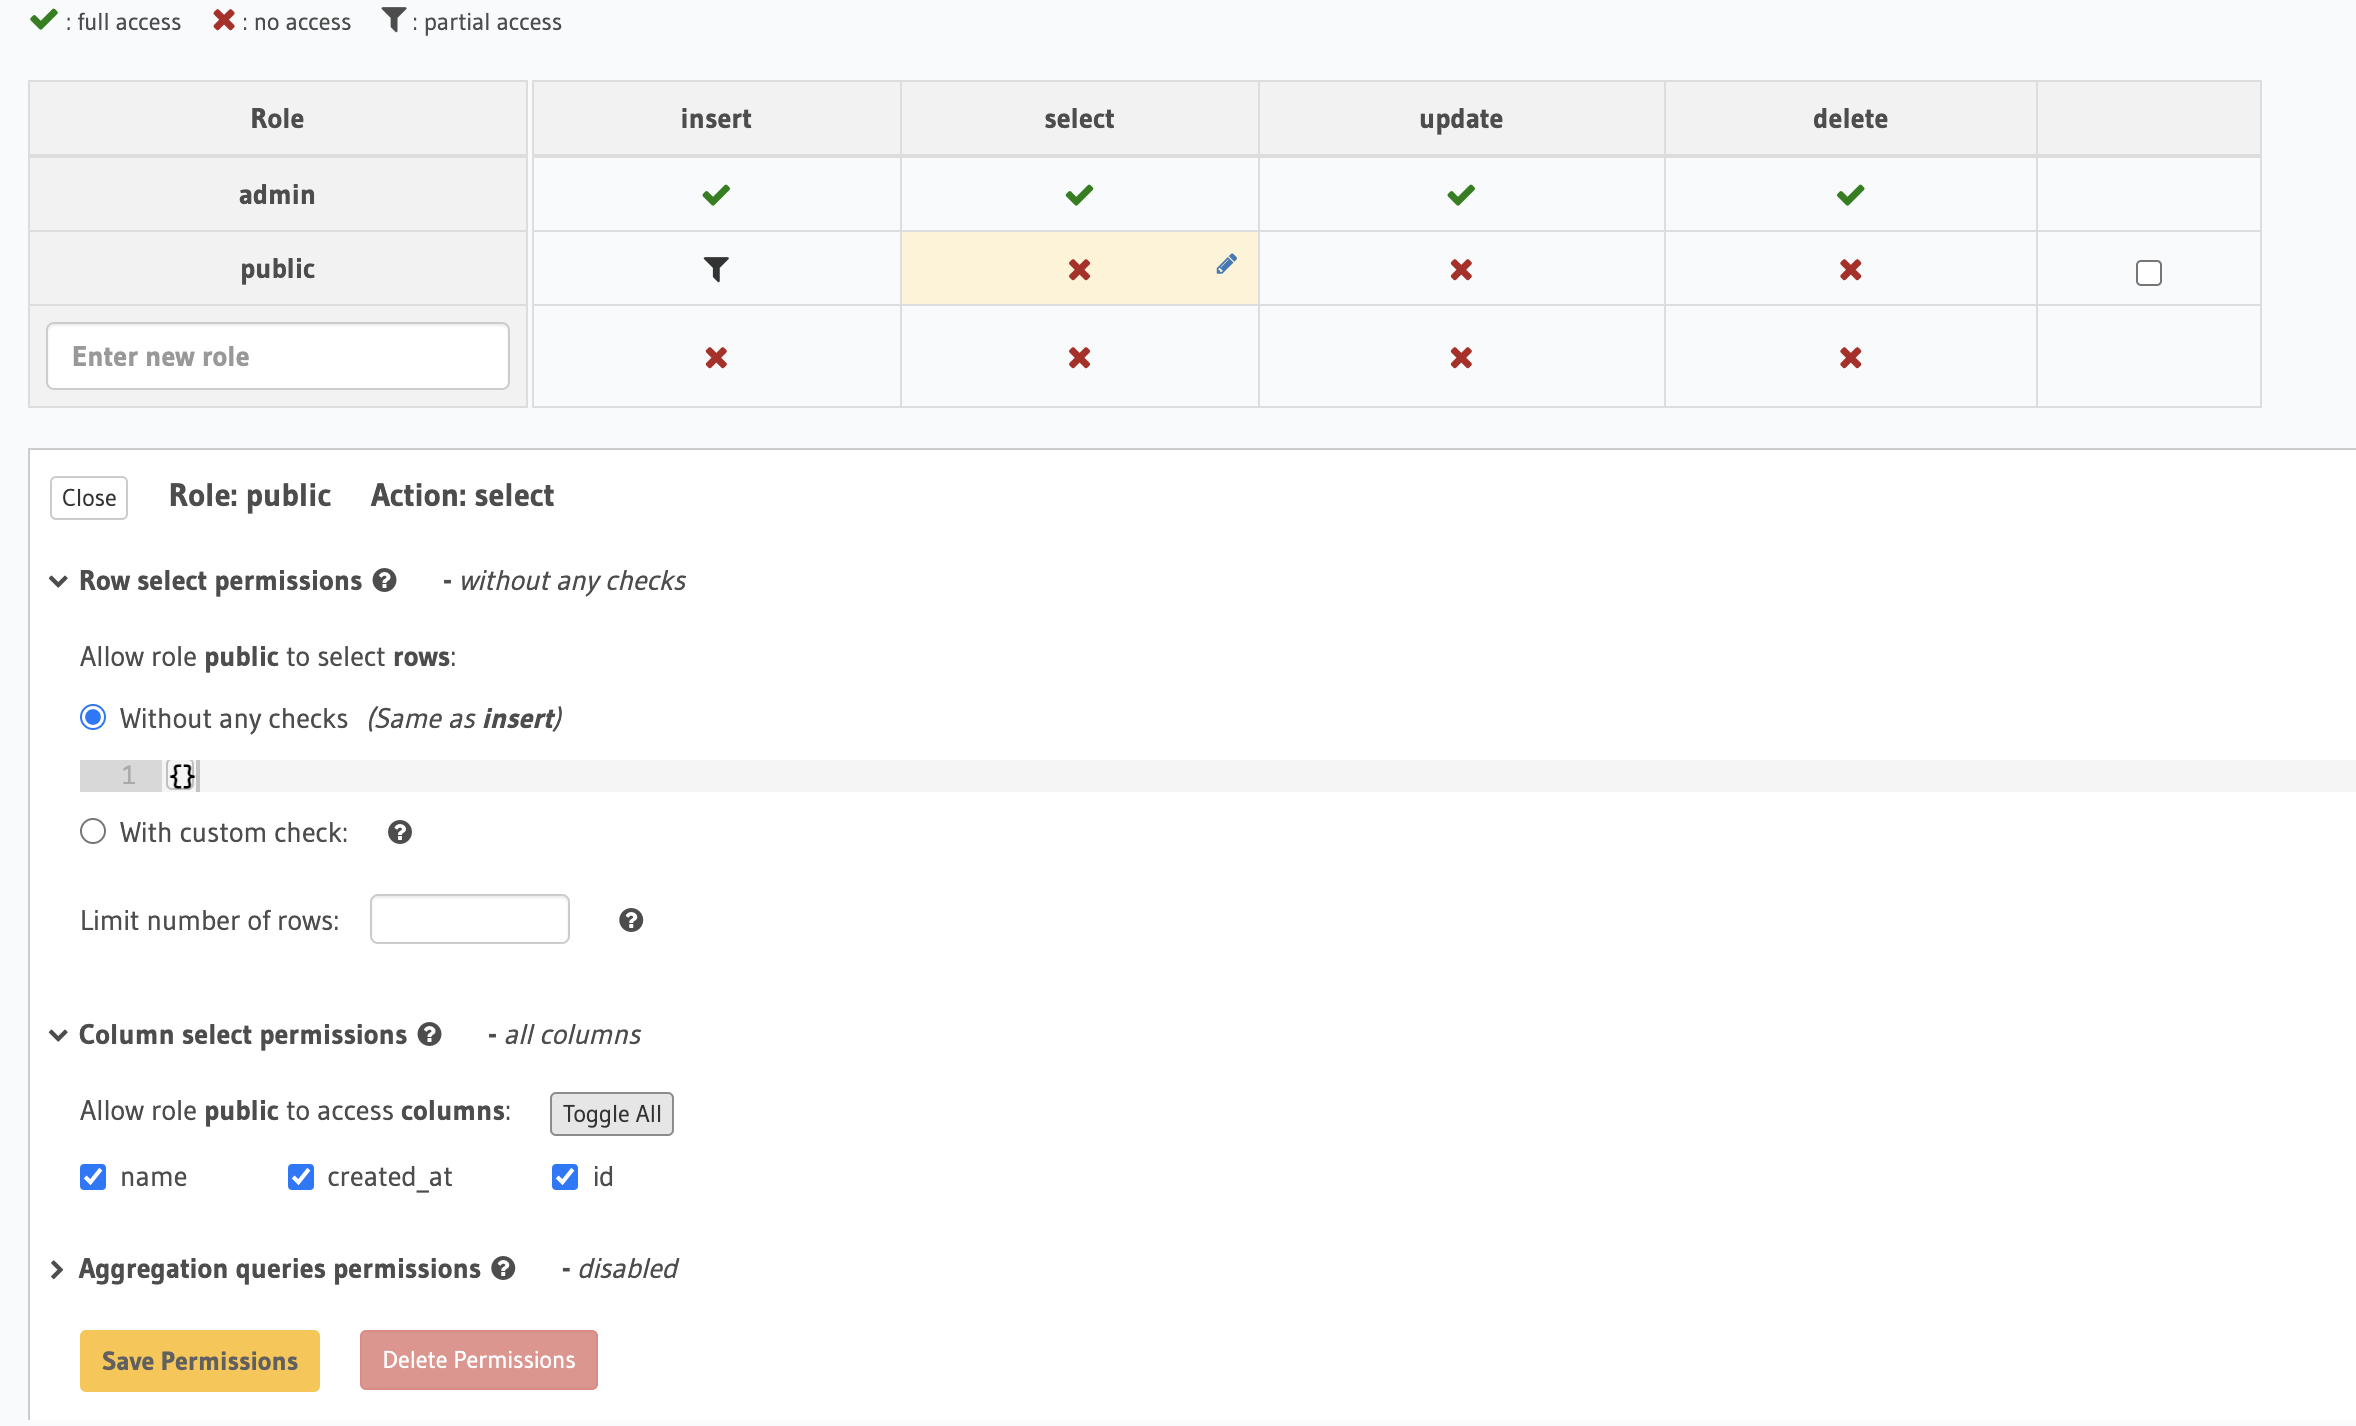
Select
Row select permissions should be set to Without any checks and Column select permissions should have all columns checked.
Anyone can now insert and select todos. This is not secure, but it's a good start. We will secure our backend later when we add authentication.